I know I've already made the lobsters cake topper, but I couldn't help myself. I told you before, I love cake toppers!!! They're so cute!!! So here's a little tutorial for how to make your own. I bought all the supplies at Michaels and it all cost me probably less than $10. First, assemble your supplies. I bought two little people in a package for $1.99, plus these little jar shaped wooden "cat" bodies, and some little balls to use as their heads. I also found a little wooden bead from Michaels that I wanted to use as a little bun on the back of my bride head. I may or may not have squeezed it out of another package because I didn't need 20 of them for $5. Don't follow my bad example boys and girls.
Next, get out your drill and drill a little hole into the bottom of your bride and groom. I cut a bamboo skewer and then sanded the ends with a nail file to stick in the hole. This gives you a pick to stick in your cake, but also an easier way to hold it while you're painting. When you put the skewer in, put some wood glue on the end to make sure it stays! The cats already had big holes in them, so I stuck a straw with a glue dot on the end in them. I figure the cats will be placed on the cake, so it's not crucial they have something to keep them upright since they're so small anyways.
After that was done, I used white craft glue to attach the cats round heads to their bodies and my stolen hair bun to my bride. When that dried, I started sketching out my bride, groom and cats in pencil on my wooden forms.
I had a cardboard box that I stuck the skewers through to keep them upright and help with drying. It was perfect. And now, paint! I used acrylic craft paints that were on sale 2/$1.50 at Michaels. they dried quickly and were really easy to work with. Now comes the part where you learn from my mistakes. I didn't have black paint. Cleverly I thought, that's okay, I have a black paint pen with an extra fine tip, that'll work perfectly! And it did. At first. I outlined all of Dan's clothes, put his cute little face on him. Then I did my face. The paint got a bit stuck, so I shook up the pen and tested it on another page and it was fine. I put one eye on my bride, and then.....
ACK!!!!! My paint pen exploded!!!! Don't ever ever use a paint pen for something like this!!! I liked the look of my little people with the wood instead of the skin tone paint, but ummm this is not okay! So I sanded down my mini-bride's face (poor girl) and did a quick run to Michaels to pick up black paint as well as flesh toned paint. Thankfully the flesh toned paint covered over what remained of the black paint and I was able to salvage my cake topper.
Look ma! No more black eye! So now I moved on to the cats. They were pretty straight forward and mostly involved brown paint and dry brushing. It's hard to paint a tabby, they have so many stripes! For our black cat, Peter, I mixed silver and black to give him a bit of a shimmer so he wouldn't look like this big black scary thing on our cake.
Here's our whole cake topper family, I think they turned out pretty cute! The whole thing took me an afternoon, but it would have been an hour shorter if my paint pen hadn't exploded!
Hello, my name is Veronica and I am a cake addict. I will eat it both in regular and cup form. I don't even need a plate. Give me a fork and the platter.
You can imagine my glee when I attended my first wedding show and got to sample cake from about 10 different bakeries. I have no shame, I broke the cardinal rule and asked for a sample of each flavour. See addict admission above. I repeated said behaviour at my second wedding show which resulted in many sugar high giggling fits while crammed in tiny photo booths with my sister.
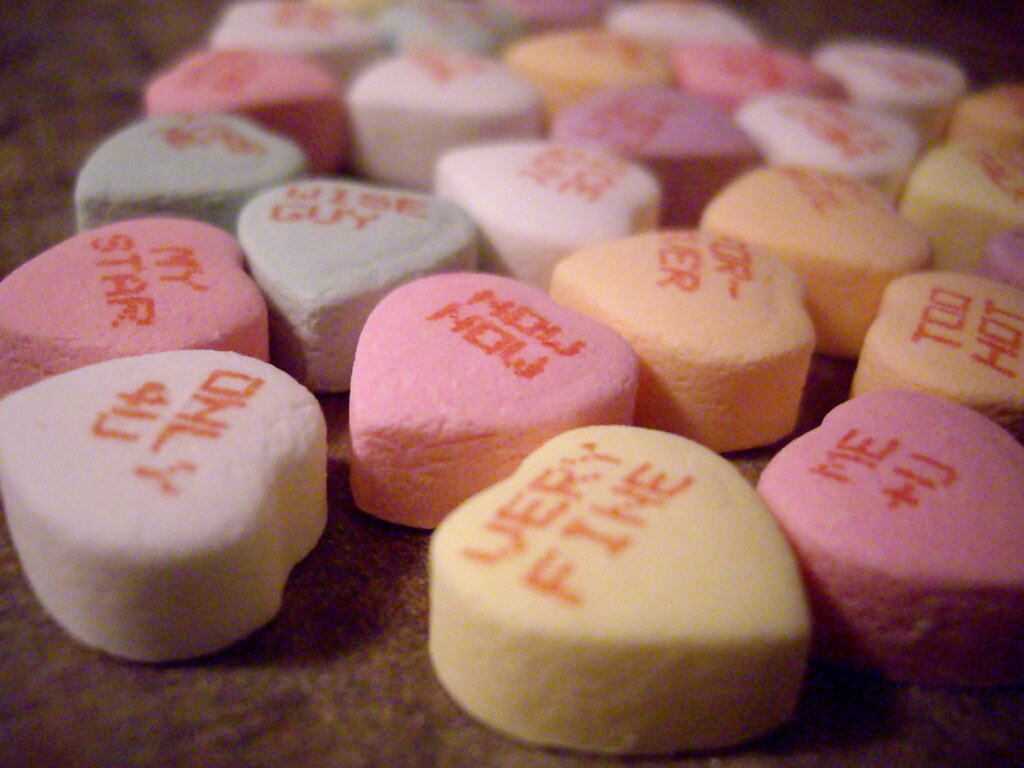
Sorry, back to the point. One particular bakery really struck my fancy, The Wedding Cake Shoppe. They had an entire four tier cake covered in conversation hearts. Cake AND candy?! Are you kidding me?! On top of appealing to my serious sugar addiction, their spicy chai latte cake sample was some of the best cake I have ever eaten. Period. I start every day off with a chai latte and now you're going to give it to me in cake form?! Obviously I signed up for a consultation on the spot (of course after making a huge fool of myself gushing over their cake flavours and the adorable Japanese cake toppers).
Finally sampling day arrived. Best. Day. Ever. Dan and I showed up hungry and excited. We met with Aleksandra who helped us delineate what it was that we wanted. To be honest, we didn't even want a wedding cake. I just really really really loved their cake, and having a wedding was a great excuse to buy one! After looking through lots of books of photos with cakes they've made previously, we decided the common thread was a "natural" sort of vibe. Branches, leaves, birds, that sort of thing. I honed in on one in particular when Aleksandra mentioned it had been created to match the graphic on the invitation. Reeeeeeaaaalllly. Screw the birds, I want a cake that matches my invitations!!!! I haven't yet posted about this, and I promise I will soon, but our invitations are based on the fact that Dan and I met in an elevator.
Ladies and gentlemen, we are having an elevator mini cake! That's right, two tiers of cupcakes (60 total), capped off with a two tier mini cake that looks like an elevator! SWEET! Now I'm not going to give everything away since I want to DIY a few things and post tutorials for you, so stay tuned for the details of how I'm going to make my cake even more wonderful and personal! If you haven't guessed it by now, I'm a little excited! And do you know what else makes me excited?! How amazingly well priced it all was! Our full bill ended up being less than $400 including $130 delivery, and a $30 cupcake stand rental. Ummmm SCORE! I can't recommend the ladies there enough, they are so sweet and charming, really gave us lots of time, and had great ideas. I can hardly wait to pick up another 6 pack of flavours so we can finalize them for the wedding!
You know why I love wedding shows? Free cake! Plain and simple. Yes there are great vendors out there, yes you can get some good deals, but man, free cake is awesome!
When heading to your first bridal show, here are some tips shared with me from my own engaged and/or newly married friends. All of them have benefited me greatly!
1) Print off address labels (I bought mine from the good ole dollar store) with your name, address, email address, and phone number on them. This will save you a lot of time filling out countless contest entry forms. 2) Set up an email address just for wedding related things like said contests, contacting vendors, etc. I've found this to be a lifesaver because it's all in one place without having to wade through all your other day-to-day life email. 3) Bring a rolling backpack or bag of some sort. You will get about free 15 bridal magazines, wedding planning books, etc which are lovely and so useful, but also heavy. 4) Bring water and a snack. It's always dry in convention centres and the food is typically greasy, unhealthy, and overpriced. A bottle of water and some trail mix will go a long way after all that cake! 5) Enjoy! Chat with the vendors and take part in the free photo booth shots, get your ring cleaned for free, the show is your oyster!
I went with my sister/MOH to the National Bridal show today and followed the above rules. We had an absolute blast! Thankfully this evening was the first day of the show, so it was lovely and quiet and we had time to talk with the different vendors and really take it all in. We met some great people and I really enjoyed myself even though it was a smaller show. I came home with three strips of photos of us, a multitude of free samples, and some great coupons and ideas. So go and enjoy, hopefully you only get to do this once ;)
At some point in our relationship, I told Dan he was my lobster. I'm preeeeeetty sure he thought I was an absolute nutter. I then realized that men don't consider Friends to be a religion like women do and found him the episode where Phoebe announces that Rachel and Ross are lobsters. They walk around on the bottom of the ocean holding claws, mates for life. He got it, but now thinks I'm a cute nut if nothing else. He has also been known to watch Friends with me since I have shown him the light ;)
So anywho, since the day of the lobster, we have this weird thing (among many weird things) that when we're feeling mushy and sweet, we link our thumbs and forefingers together a la little claws and announce "Lobsters!" to each other. Yes we do this in front of other people who also now think we're BOTH nuts.
Now to take the craziness a step further, I made a "Lobsters!" cake topper. Yep, you read that right. Although neither of us particularly want a big frou-frou wedding cake, we each have about 4 ideas for cake toppers. Naturally this means a dessert buffet with many cakes and many cake toppers. Darn. Twist my rubbery-cake-lovin-arm!
I know at this point you're all begging to know, how does one make a lobster cake topper? Well let me show you!
First, Google image search "lobster". You'll find an image like this: (Source)
Then I decided for whatever reason (and mainly I think because of my new smelly Smencil crayons) to draw said lobster claw so I could understand the ways of the claw. (Personal Photo)
I picked up some red sparkly polymer clay from my local Michaels and set to sculpting! I did a little online research and found out a few important things. First, this is scary stuff. It's full of chemicals that are not so good for you. Whatever surface you bake the stuff on, you don't want to use it for food again. I put a double layer of parchment paper under my clay to bake it on so I wouldn't be putting it directly on the sheet. Secondly, there's not a lot of beginners information out there. A lot of the info relates to how to make fancy beads and whatnot, so it's a bit of a trial by error unless you have a book or a friend who knows what they're doing.
To start, the clay needs to be warmed up a little. I bought two packs not knowing how much I'd need, so I tucked one inside my bra while I warmed the other up in my hands. I kneaded it until it was pretty pliable/sculptable. Then I tore a hunk off and started making a claw! I used a wooden skewer to add some of the toothy like detail on the claws. That's about it really. I made two claws, interlocked them together, and then threw them in the oven for about 45 minutes at the temperature recommended on the package. It's important to use this temperature because if you bake it at a higher temperature you could release some very toxic fumes into your oven and heaven knows we don't want to eat toxic chicken for dinner so don't take a short cut on this people! However it looks when you put it in the oven is pretty much how it'll look when it comes out, it's no big mystery. It doesn't really expand or contract, it just is what it is.
Here's our lobsters cake topper! (Personal Photo) All in all, it was a quick and easy project. I'm really happy with the way it turned out, although I'm certainly not expecting many people at the wedding to understand the reference. As a sidenote, much to my dismay Wikipedia has dispelled the Friends lobster myth: "Lobsters do not mate for life, contrary to some myths. The female seeks the most alpha male she can find, and the male will mate with as many females as he can." Ahhh so true my lobster friends, so true.